Take control of your crypto in Trezor Suite
Manage your assets in one app securely.
Version: v24.9.2 · Signature · Signing key 2020 · Signing key 2021
Manage your assets in one app securely.
Version: v24.9.2 · Signature · Signing key 2020 · Signing key 2021
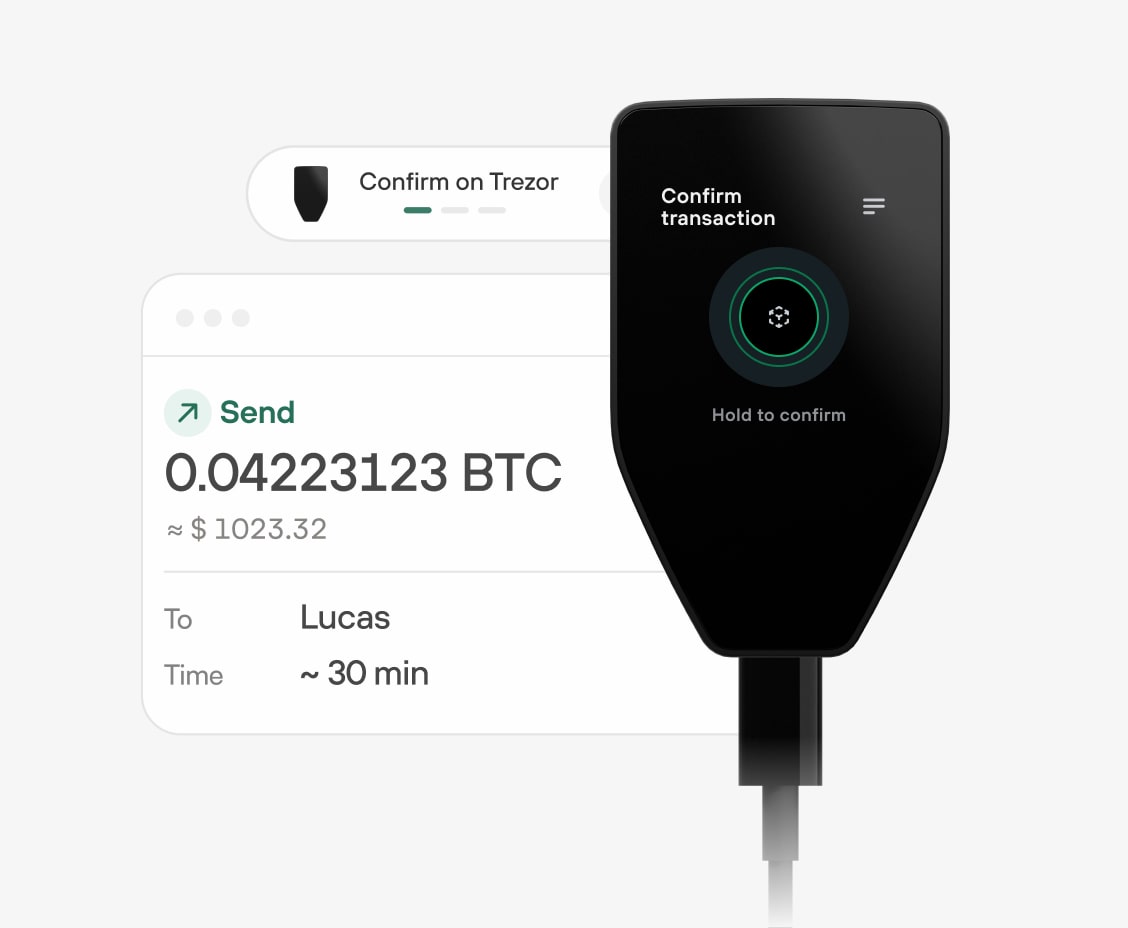
Connect your hardware wallet with Trezor Suite to securely manage your crypto assets.
In the evolving landscape of cryptocurrency, ensuring the security of your digital assets is paramount. Trezor, one of the leading hardware wallet providers, offers a reliable solution for securely managing your cryptocurrencies. This guide will walk you through the setup process on Trezor.io/start to help you get started on your journey towards safer crypto management.
Trezor is a hardware wallet designed to store your cryptocurrency offline, protecting it from potential hacks and online threats. Unlike software wallets, which are vulnerable to malware and phishing attacks, Trezor ensures your private keys are never exposed to the internet. This added layer of security makes it a top choice for both beginners and experienced cryptocurrency users.
Getting started with your Trezor wallet is a straightforward process. Here’s how to do it:
Visit Trezor.io/start
Begin by navigating to Trezor.io/start. This page will guide you through the installation and setup of your Trezor wallet.
Choose Your Device
Trezor offers two main models: the Trezor One and the Trezor Model T. Select the device you have to proceed. Each model has its unique features, so you can choose the one that fits your needs best. For a detailed comparison of both models, refer to this comparison guide.
Download the Trezor Bridge
To ensure your Trezor wallet communicates effectively with your computer, you’ll need to download the Trezor Bridge. This software allows your wallet to connect seamlessly with various browsers. Follow the on-screen instructions to install it.
Initialize Your Wallet
Once the Trezor Bridge is installed, connect your Trezor device to your computer via a USB cable. You’ll see a welcome screen on the device. Follow the prompts to create a new wallet. Make sure to write down your recovery seed phrase—this is crucial for recovering your wallet if you ever lose your device.
Set a PIN Code
For additional security, you’ll be prompted to set a PIN code. This code will be required each time you access your wallet, providing an extra layer of protection.
Access Your Wallet Dashboard
After setting up your PIN, you’ll be taken to the Trezor wallet dashboard. Here, you can manage your cryptocurrencies, send and receive funds, and explore various features.
Setting up your Trezor wallet via Trezor.io/start is a crucial step in securing your cryptocurrency investments. By following these simple steps and adhering to best practices, you can enjoy the peace of mind that comes with knowing your digital assets are well-protected. For more resources, visit the Trezor support page for additional help and guidance.